Greetings and Salutations…and Happy New Year to boot!
I hope the holiday season treated all of you well. It seems to have flown by! After a crazy year-end cycle at work, I am trying to get back into a normal routine again…especially when it comes to cooking and devoting more time to this blog. It seems harder and harder to make time for certain things in my life…things that are important but seem to end up on the back burner when juggling professional and personal obligations. I know we all experience it in our lives and try to find a balance. I am looking forward to things slowing down a bit so I can stop and smell the roses…or in this case, the Pad Thai!
So, it’s no secret that Thai food is one of my absolute favorites (I’ve raved about it more than a few times on this blog). One of the most commonly known dishes is Pad Thai, which is basically a stir-fry with rice noodles and other ingredients such as chicken, seafood, vegetables, and eggs. One wintery day a few weeks ago I experienced a mean craving for this delectable dish, but did not want to venture out into the cold to a restaurant. I found a basic recipe online and enhanced it a bit, omitting certain items like bean sprouts and amping up the quantities for the sauce, plus adding a little peanut butter. What I discovered is that Pad Thai is very easy to make and perfect for a cast iron wok or deep skillet. Below is a basic recipe compliments of allrecipes.com, with a few tweaks on my part. I hope you like it!
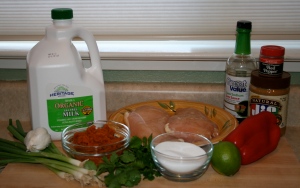
 Ingredients
1 (12 – 14 oz.) package Rice Noodles
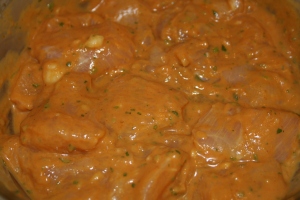
1 pound Boneless, Skinless Chicken Breasts, cut into bite-sized pieces
1 clove Garlic, finely chopped
1/4 cup + 2 Tbsps. Canola Oil
4 Eggs
2 Tbsps. White Wine Vinegar
3 – 4 Tbsps. Fish Sauce
6 Tbsps. White Sugar (adjust quantity to taste)
1 Tbsp. Peanut Butter
1/8 Tbsp. Crushed Red Pepper
1/4 cup Chopped or Crushed Peanuts
3 Green Onions, chopped
First step, prepare rice noodles according to package directions.

Next, heat 2 Tbsps. of oil in cast iron skillet or wok.
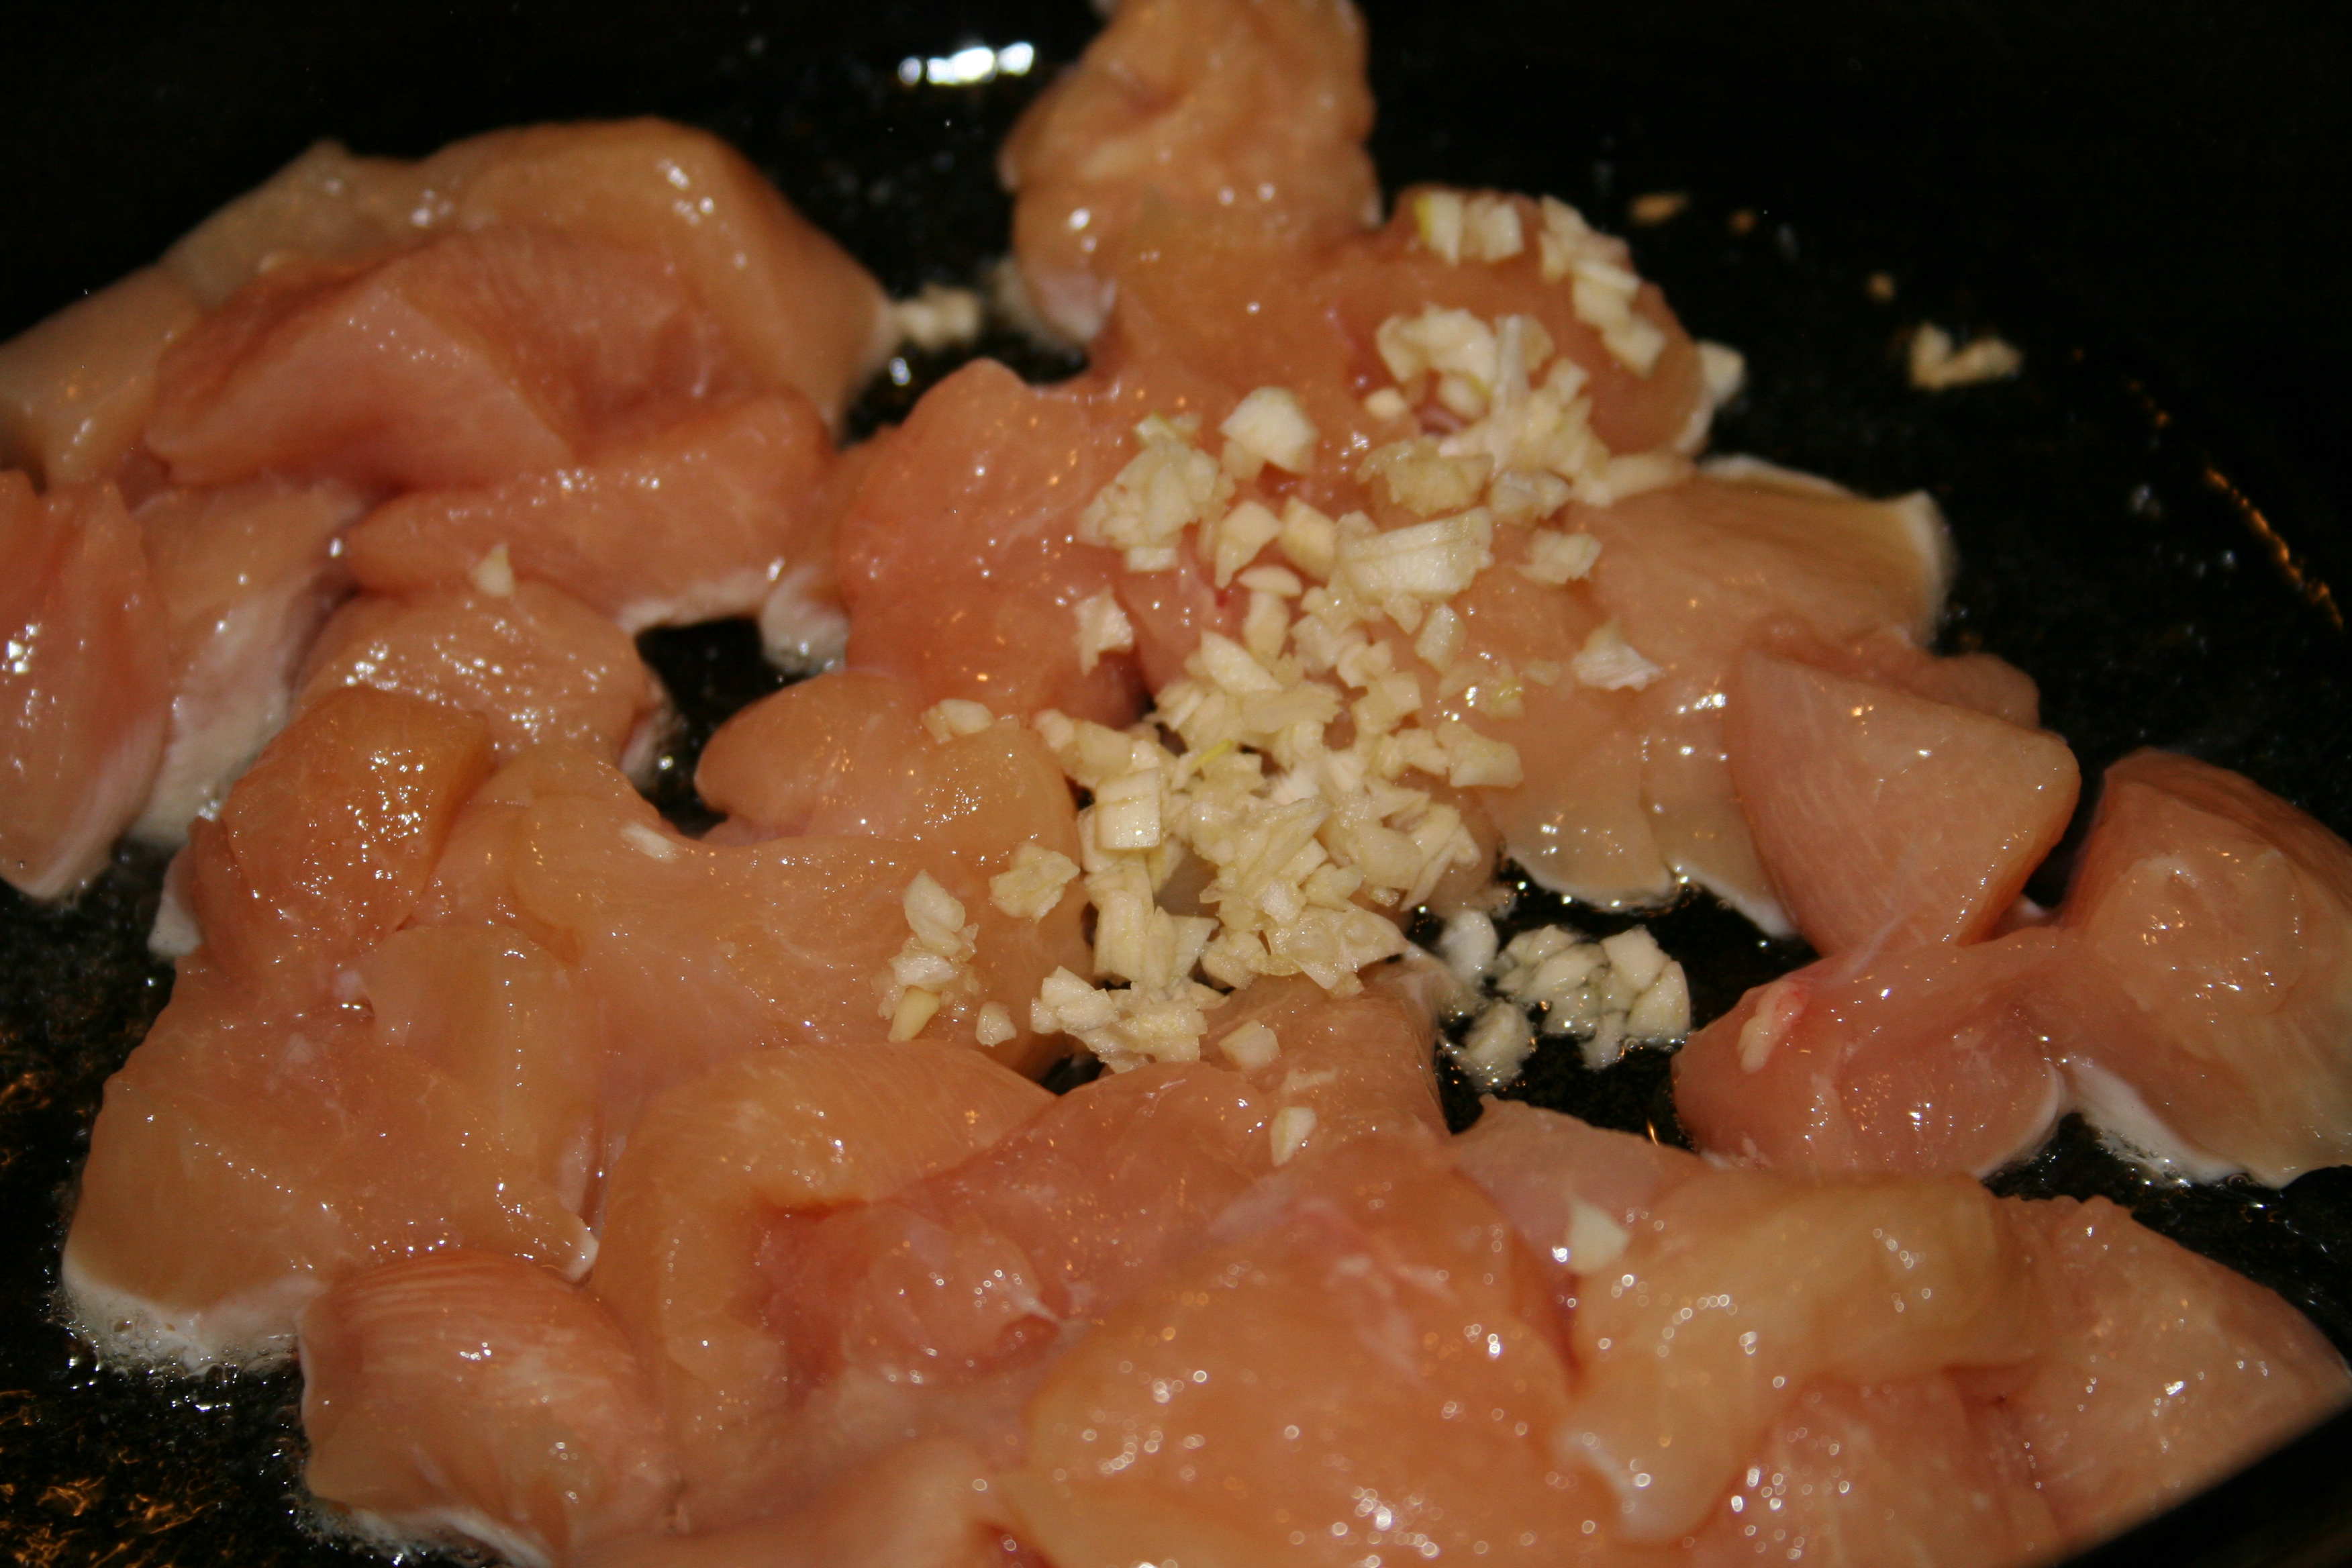
Add chicken and garlic, saute together until chicken is browned.

Once browned, remove chicken to a plate.

Heat remaining oil over medium-high heat.

Crack eggs into hot oil and cook until firm, looking almost as if they are scrambled.

Cooked eggs.

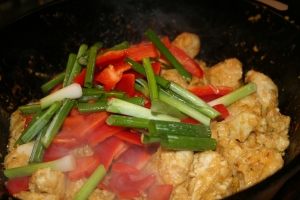
Return the chicken to the skillet.

Combine with cooked eggs.

Add the cooked rice noodles.

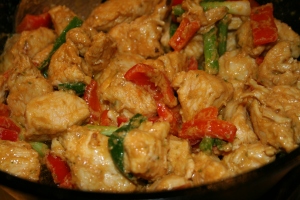
Add vinegar, fish sauce, sugar, red pepper flakes, and peanut butter. Combine thoroughly.

Garnish with chopped green onions and peanuts. You are set to start your new year in Thai fashion!